

Dictation
Dictation turns speech into clean, formatted text anywhere you type. Trigger with a hotkey, speak naturally, and Raycast removes filler words, fixes punctuation, and pastes the result instantly. On iOS, the Raycast Keyboard brings the same experience to every text field.
Get Started
When you first open Dictation, you'll get started in three steps:
- Grant Microphone access (macOS also requires the Accessibility permission for transcriptions to paste directly into your focused app).
- Pick your input device. We recommend the built-in or wired microphone for the lowest latency.
- Set your hotkey to trigger Dictation from anywhere without opening Raycast first
On macOS, you can use / fn key as your dictation hotkey. Open System Settings → Keyboard → Press / fn key to and set it to Do Nothing so the system doesn't intercept the press first.
New On macOS, Dictation's hotkey now supports multi-modifier combinations (such as ⌥ ⌘) and single-tap modifier keys (such as Right ⌘ or Right ⇧), so you can pick a trigger that stays out of your way. See Command Aliases & Hotkeys for how to set them.
Press your hotkey to start a session. The Dictation Pill appears above your current app, showing a live waveform and timer. Speak naturally as Raycast handles filler words, punctuation, capitalization, and grammar automatically.
Press your hotkey again to accept or Esc to cancel. Your text pastes into the active app, or copies to your clipboard, depending on your settings.
Prefer hold-to-talk? Hold the hotkey down. Raycast switches to push-to-talk and when you release the hotkey, your session ends and recording finishes automatically.
Each dictation session is limited to 20 minutes of dictation time. If you reach the limit, your session ends automatically and the transcription is processed.
Personalization
Personalization is where Dictation starts to feel like yours. Fine-tune every transcription with custom instructions, app-aware context, and a vocabulary built around the words and names that matter to you. You can personalize your experience in Raycast Settings → Dictation → Personalization.
Custom Instructions
Add global guidance to shape how your words are transcribed. Use it to enforce things like spelling preferences, grammar rules, tone, name capitalization, and formatting conventions. These instructions sit above any per-style settings and apply to every transcription.
App Context
With App Context, Raycast reads the frontmost app, including its name, the field you're focused on, and any visible text nearby, then passes that to the transcription model to improve transcription accuracy.
App Context is used only for that transcription request and is never stored. Once the transcription is complete, the context data is discarded.
Vocabulary
Add words, names, brand terms, or jargon that Raycast should always get right. Entries are passed to the transcription model to improve accuracy when it hears something close to them.
Styles
Styles shape your dictated text for different contexts. One spoken sentence becomes a tight Slack one-liner, a properly punctuated email, or any other format you define. You can control your transcription styling in Raycast Settings → Dictation → Styles. New Your styles sync across devices with Cloud Sync.
Auto Styling
Auto Styling picks the right style for the app or website you're dictating into. Email style in Mail, Messaging style in Slack, or a custom "Code Comments" style in your editor. When Auto Styling is off, Raycast still applies baseline cleanup but you don't get app-aware formatting on top.
Custom Styles
Two styles come built in to Raycast. Email can format greetings, sign-offs, add paragraph breaks, and full punctuation. Messaging keeps transcriptions short, casual, and lightly punctuated for communication apps.
You can adjust which apps and websites trigger each built-in style. If you use an app or website for email that isn't in our list, add it to the Email style to get the same formatting.
Create your own style using the Create Style option in Raycast Settings, or use the Create Style command and give your style a Name & Icon, Prompt, and a list of Apps & Websites it should apply to. If you're in a Raycast team, use Organization to choose whether the style is personal or shared with your organization.
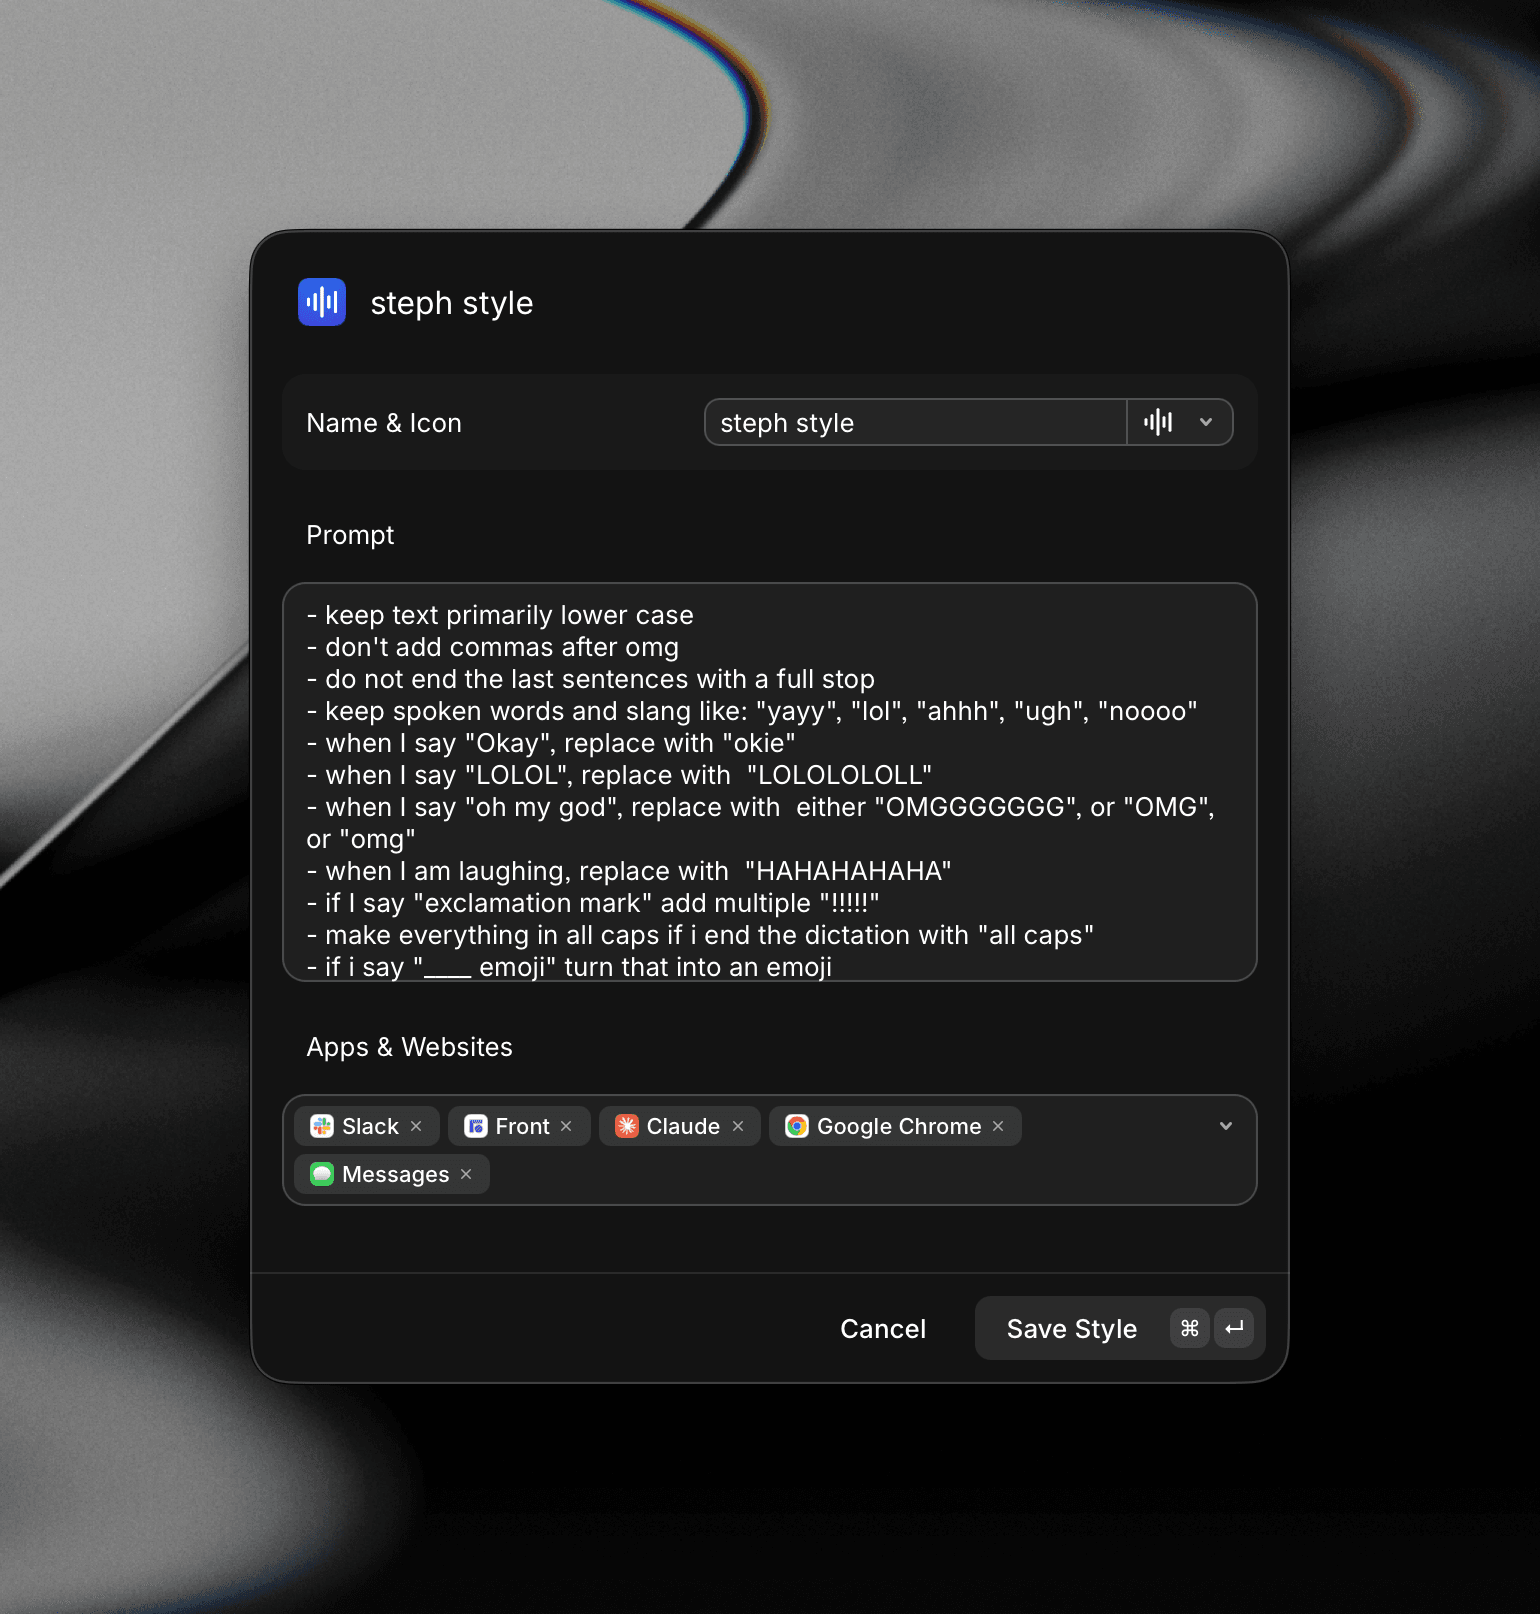
A style prompt tells the AI how to clean up your transcript to match your expected output. Describe the artifact (meeting notes, agenda, PR review), the voice, and spell out mechanics (punctuation, capitalization, numerals, emojis).
Dictate to Note
Use the Dictate to Note command to skip dictating to the active app entirely and save the transcription as a new Note. Useful for capturing ideas, voice memos, or meeting takeaways that you want to keep alongside your other notes without using another app or website.
Dictate in AI Chat
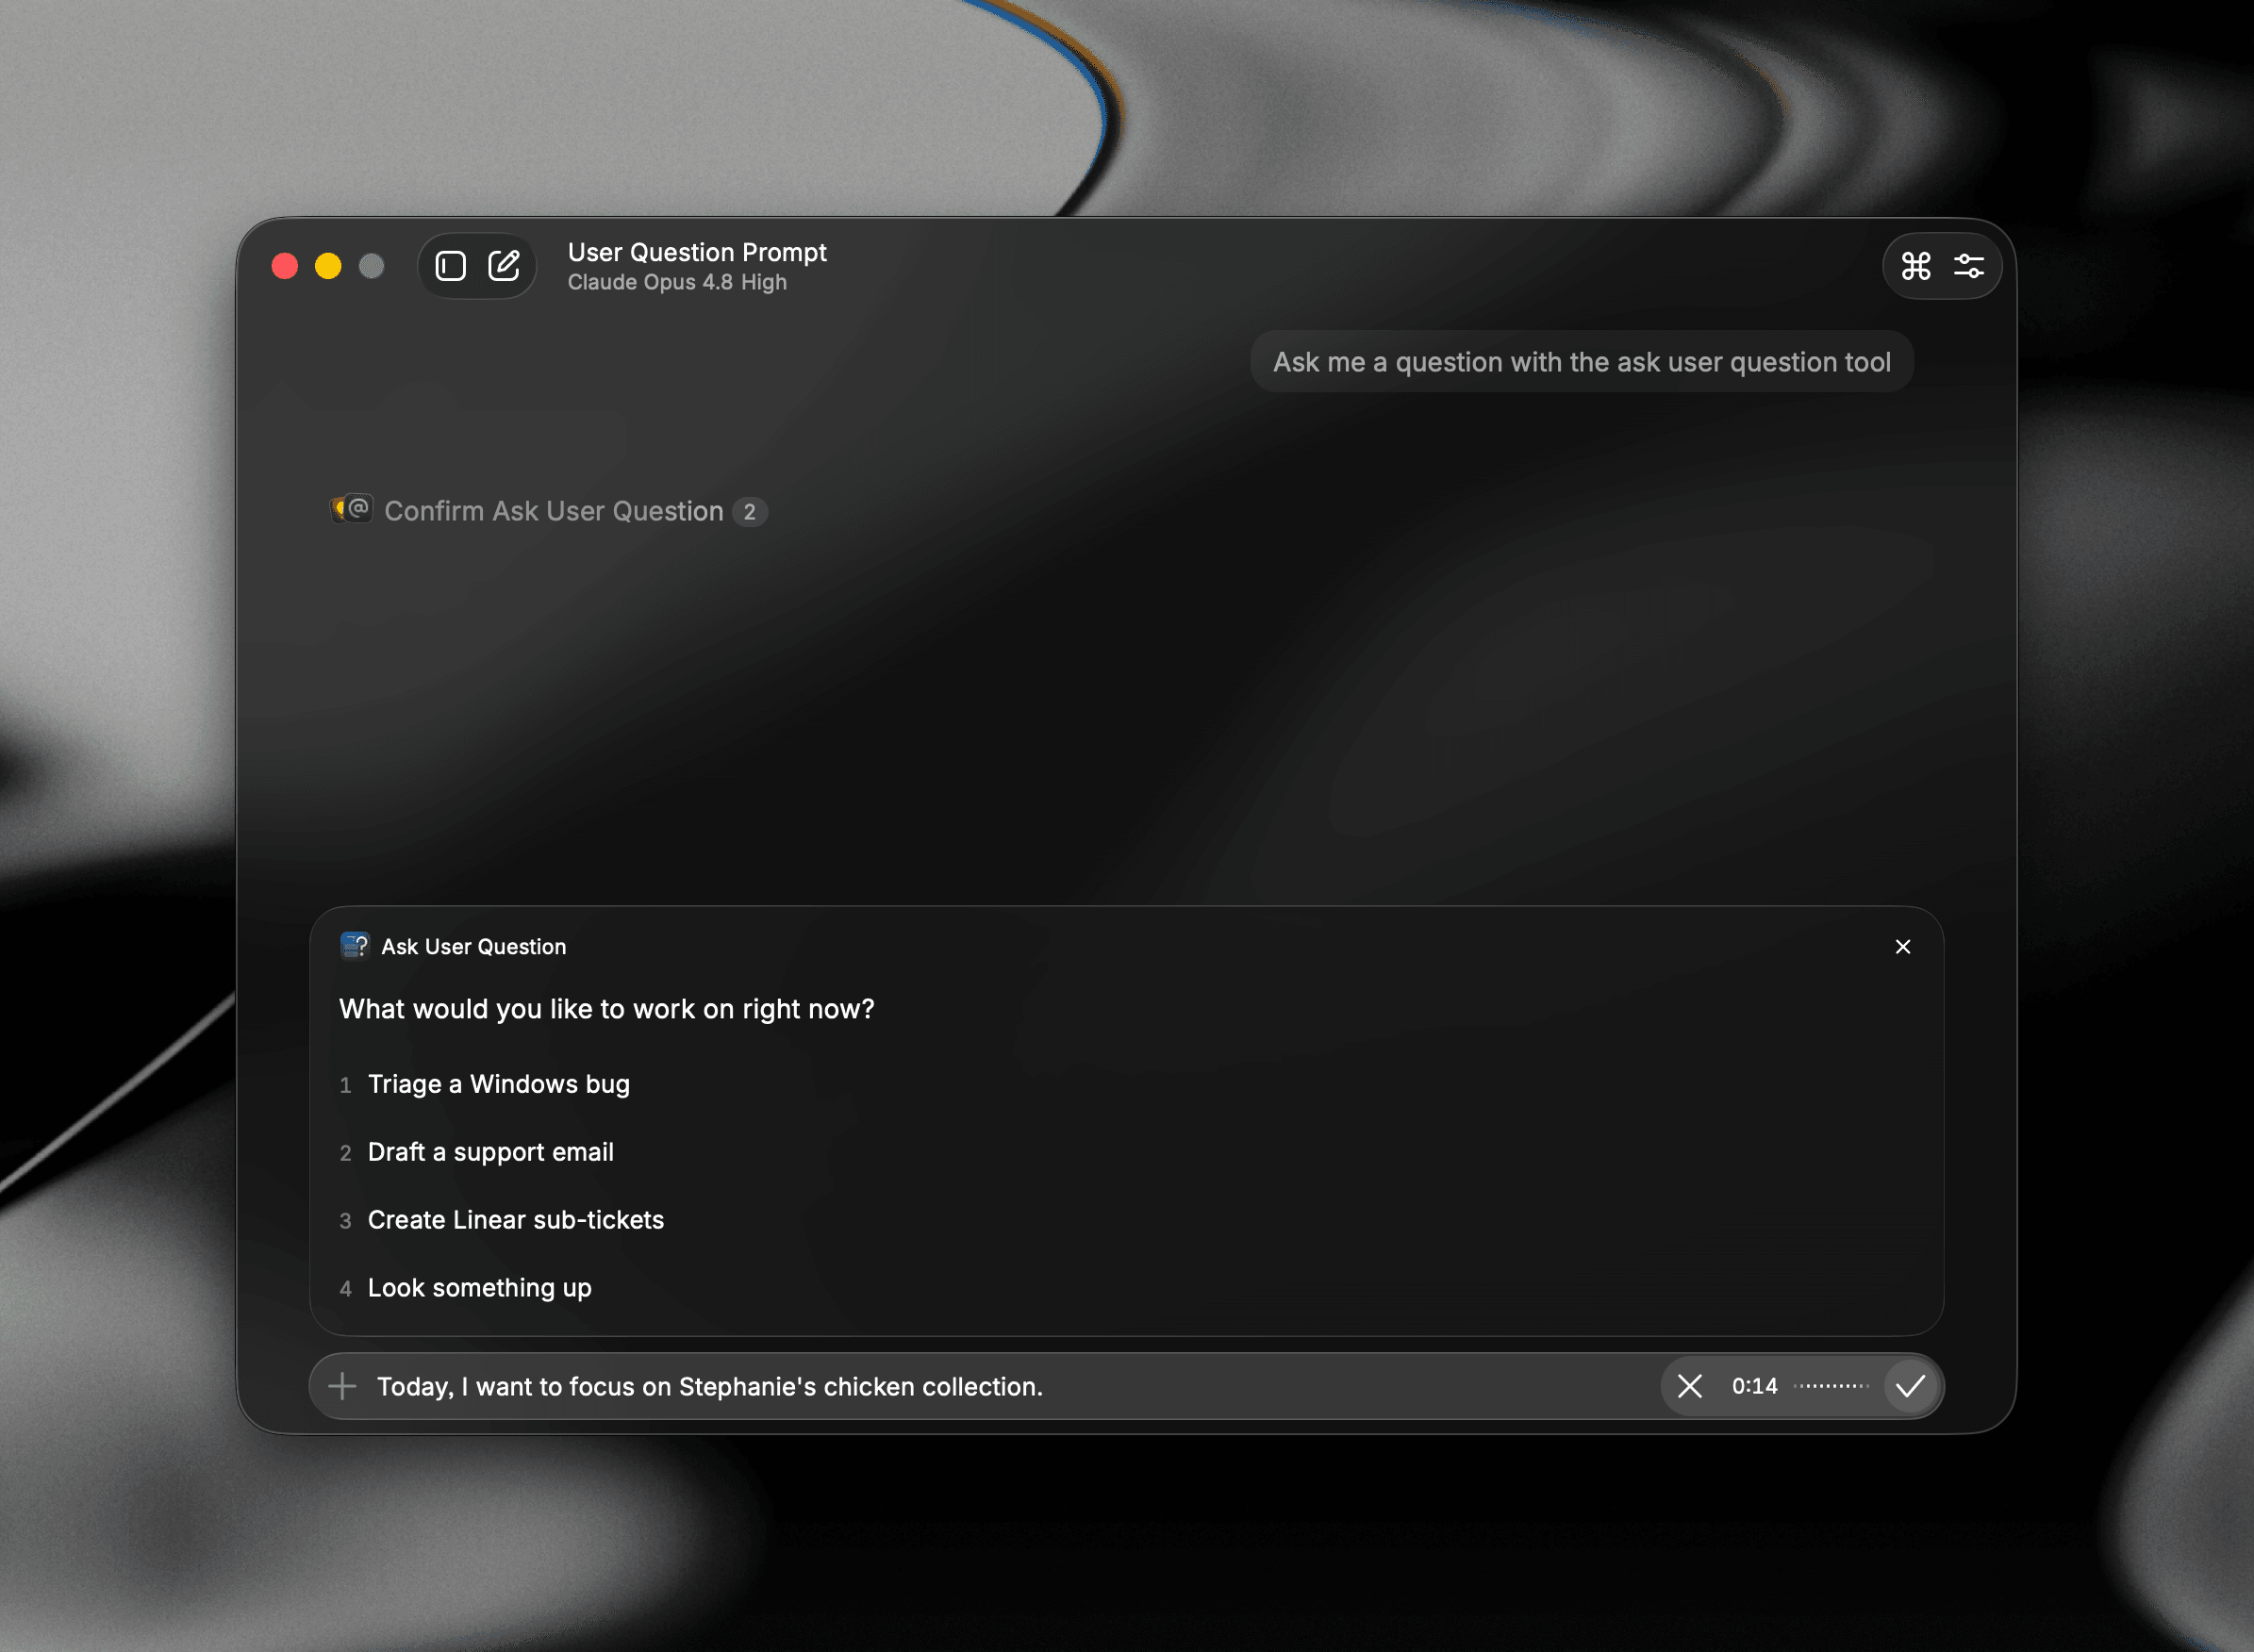
New When AI Chat pauses to ask you something, you don't have to switch back to the keyboard. While an Ask User Question tool or a confirmation prompt is active, press Ctrl M to dictate your response. These composers don't show a microphone button since they're already busy, so Ctrl M swaps the available actions for the dictation pill.
Dictation History
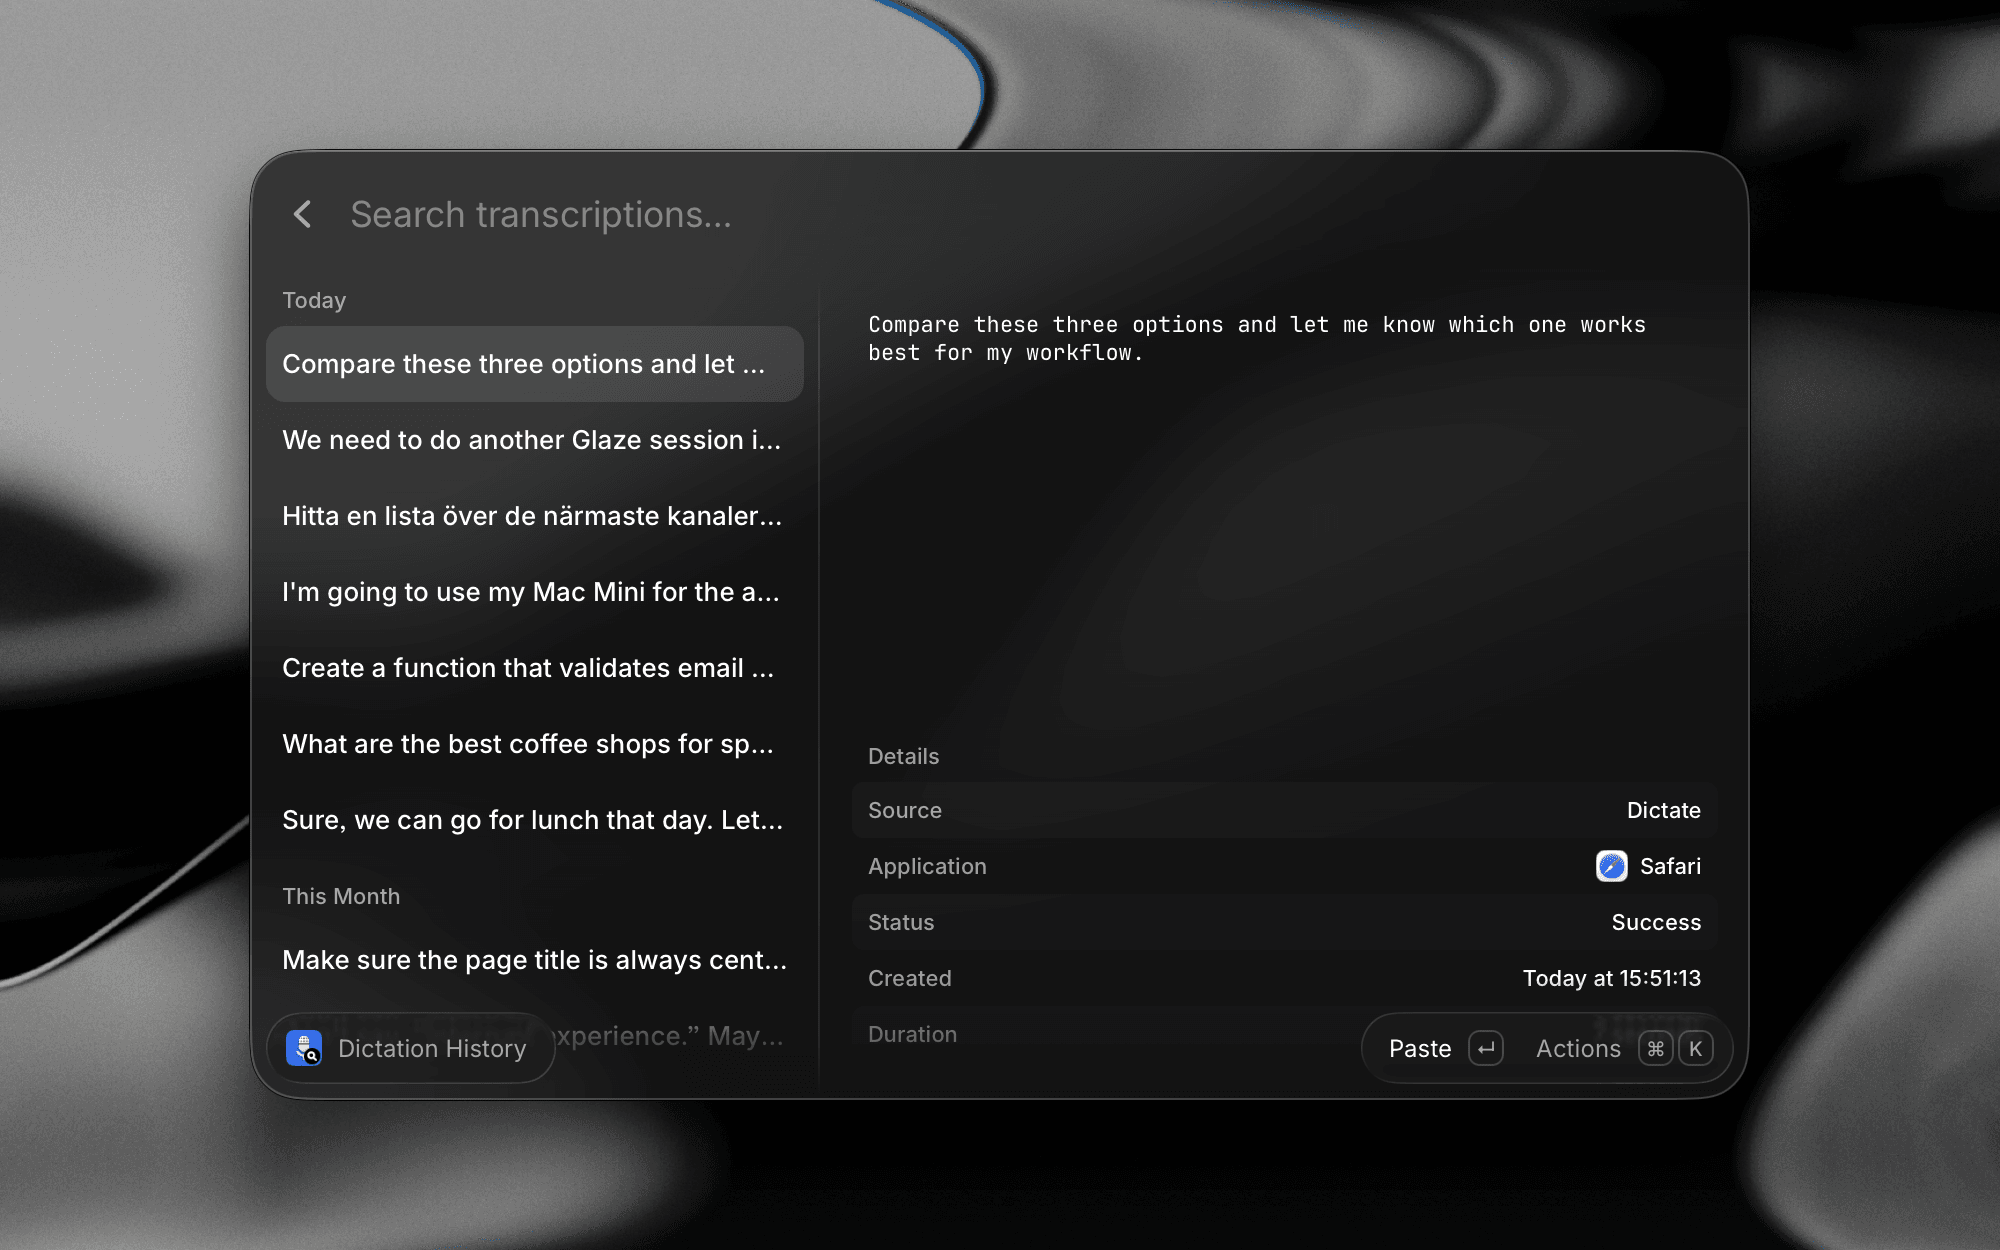
Every transcription is saved to the Dictation History command so you can find and reuse it later. You can use the actions in the Action Panel to either Paste, Copy to Clipboard, Delete Transcription for the selected transcription, or Delete All Local Transcriptions to remove them all.

New Use the Get Last Transcription command (previously Copy Last Transcription) to quickly copy the last transcribed text, or paste it into the active app, without needing to open the Dictation History command.
Settings
All Dictation settings live under Raycast Settings → Dictation, including your preferred input device, general behavior options, and usage statistics.
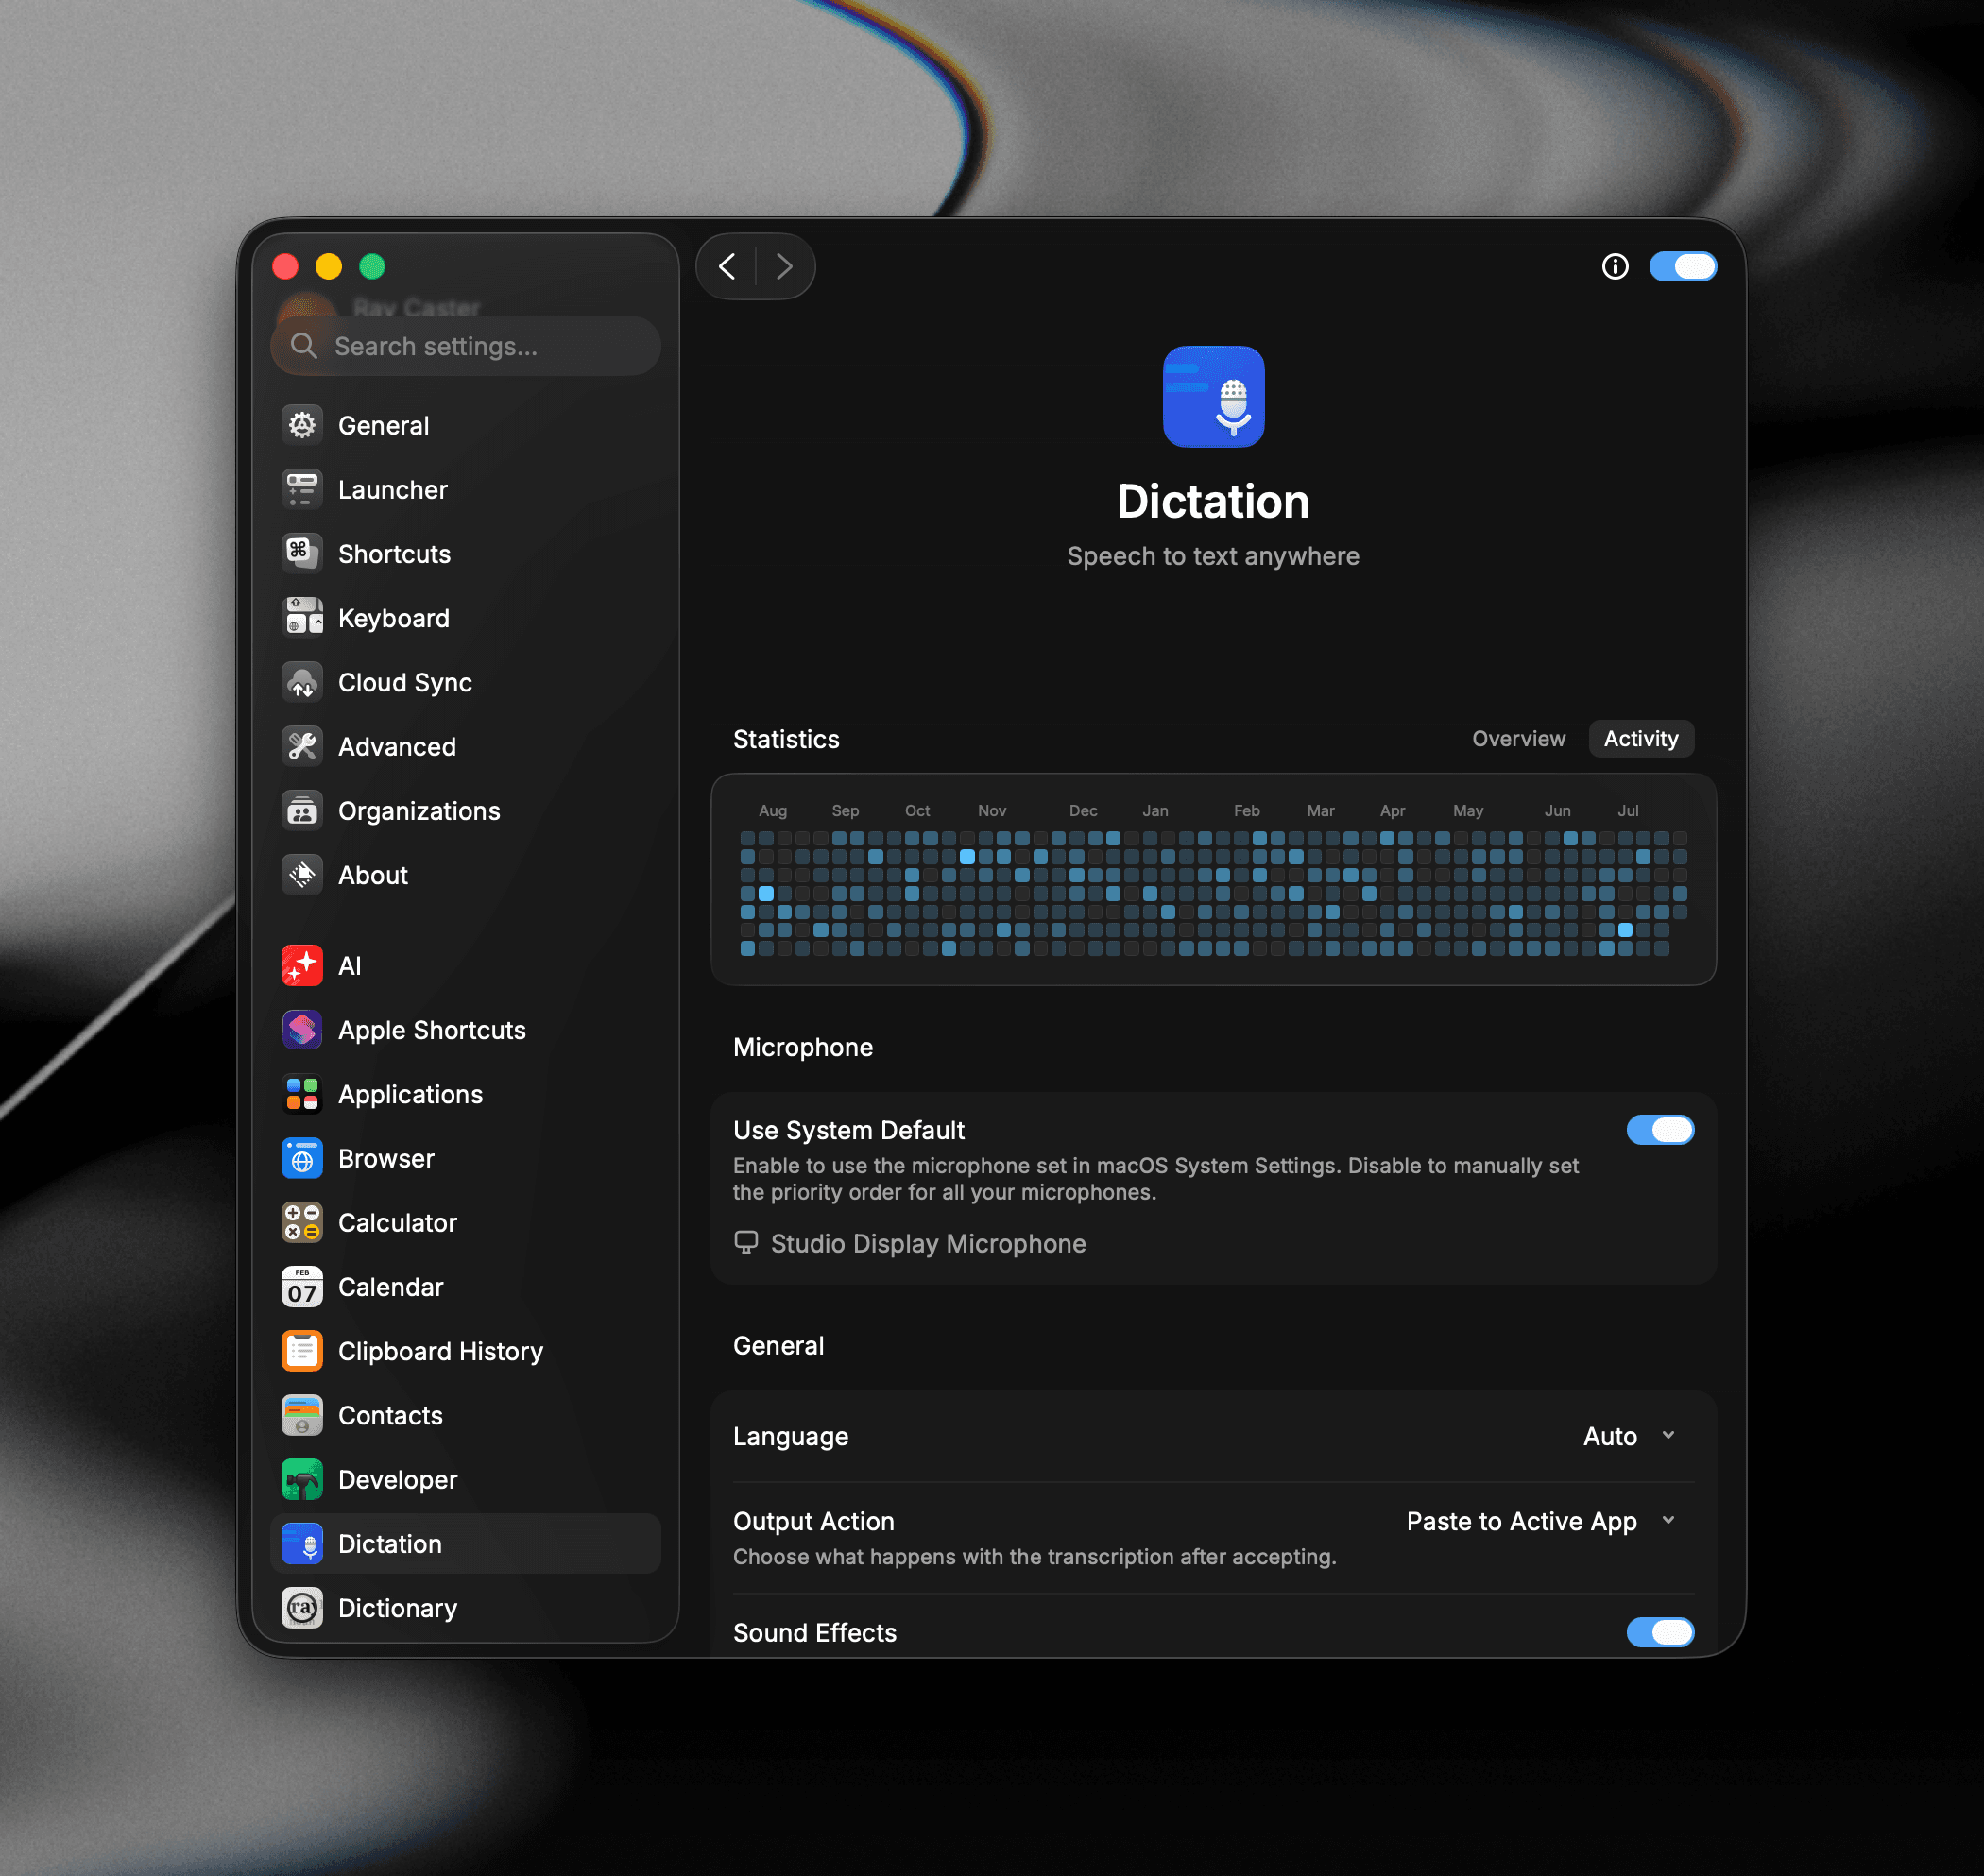
Statistics
Over time, Dictation builds up a picture of your usage through statistics. You'll see your average WPM, estimated time saved, and total words dictated.
New Activity also displays a graph of when you're using dictation the most. Your stats are computed entirely on your device from your local transcription history. Statistics are not sent to Raycast as analytics nor telemetry.
Microphone
By default, Raycast uses your System Default microphone provided by the OS when Use System Default is turned on. You can customize your microphone priority list to switch between input devices throughout the day by turning Use System Default off.
Use to reorder microphones by priority, or press to exclude a microphone from the list. Your currently active microphone appears in green at the top.
General
- Language: Select a specific dictation language, or leave on Auto to detect what you're speaking each time.
- Output Action: Paste the transcript directly into your active app (Default), or copy to your clipboard.
- Sound Effects: Play feedback when dictation starts or stops.
- Mute While Recording: Mute system audio while a session is active.
- Finish and Cancel Shortcuts: Choose the shortcut used to finish or cancel dictation.
If you regularly dictate while using other apps and need ↵ to behave normally (for new lines, sending messages, etc.), turn Allow Enter Hotkey off and use your Dictate hotkey to accept transcriptions instead.
Permissions
Dictation needs Microphone access to record your voice. On macOS, it also needs the Accessibility permission so transcriptions can paste directly into your focused app — grant both in System Settings → Privacy & Security. Raycast prompts during setup if permissions are missing.
Privacy
Dictation is private by default. Your voice is never used to train AI models, audio isn't retained on Raycast servers, and your transcriptions and statistics are stored locally on your device. For full details on how your audio and transcriptions are handled, see Raycast AI Privacy & Security.
Dictate on iOS
Dictation lives inside the Raycast Keyboard and enables you to dictate from most text field in apps on your iPhone or iPad.

iOS Get Started
Install and enable the Raycast Keyboard before using Dictation. See Keyboard for setup instructions.
- In any app, tap a text field and switch to the Raycast Keyboard using the icon.
- Tap the button in selector on the Keyboard, then tap to begin dictating. At the beginning of a dictation session, you will be redirected to the Raycast app – this is necessary since iOS keyboards don't have direct microphone access.
- Speak naturally. Raycast handles filler words, punctuation, capitalization, and grammar automatically.
- Stop the recording with or from the Live Activity. The cleaned-up text is inserted into your text field, or held for review, depending on your Insert Mode setting.
As of iOS 26.4, Apple removed the ability for keyboards to detect the host app's bundle ID, so after dictating you'll need to swipe back to your previous app manually. We hope this is resolved in a future iOS update.
Dictation Session
After you start a dictation session, Raycast keeps a 5-minute session alive in the background so you can dictate multiple times without recording to the app each time. While a session is active, you'll see a Live Activity. Tap it to control or end the session. You can also end it from the main app by tapping the power button.
Don't want a background session? Toggle Disable Session in Raycast for iOS Settings → Dictation to end it immediately, or after 5 minutes, 10 minutes, 15 minutes, 30 minutes, or 1 hour.
Insert Mode
By default, the dictation is inserted into your text field automatically. You can change the insertion mode by completing the following settings:
- Open the Raycast app.
- Tap your profile in the top right.
- Tap Keyboard then change Insert mode to one of the following; Auto-insert, Review first, or Review on AI command.
Post-Processing
iOS Dictation includes the same concept as Styles, and allows you to run your dictation through a post-processing flow on top of the standard dictation cleanup to modify the output before inserted.
You can select the post-processing option under the Dictate button in the Raycast Keyboard, and choose from one of the following options:
- Email: Format your output for email
- Notes: Format your output for note-taking
- Custom AI Commands: Your own prompts, ideal for personal writing styles, translation, or specific tone adjustments
Troubleshooting
Dictation turns your speech into text anywhere on your system. Most issues come down to language detection, microphone selection, or the trigger key. Here are the common ones.